Burgundy F1

SKU: BR188
The new standard for purple sprouting broccoli, Burgundy is an all-season performer from early spring to through fall, producing tender, brightly coloured florets for up to 6 weeks. Read More

Exposure Full Sun

Matures in 38 days

Season All Season

Seed type Hybrid ?

Click here for more options
Shipping & Returns

West Coast Seeds ships anywhere in North America. However, we are not able to ship garlic, potatoes, asparagus crowns, bulbs, onion sets, Mason bee cocoons, or nematodes outside of Canada. We regret, we cannot accept returns or damages for orders outside of Canada. The minimum shipping charge to the US is $9.99.

Burgundy F1

Product Details

The new standard for purple sprouting broccoli, Burgundy is an all-season performer from early spring through fall, producing tender, brightly coloured florets for up to 6 weeks. Cut Burgundy's central floret when it is about 7-10cm (3-4") across to induce production of slender, tasty sideshoots, and keep these harvested for a continuous supply. Stems will become more slender and florets smaller through the harvest period.

Quick Facts:

    • Colourful purple florets.
    • Extended harvest up to six weeks.
    • All-season performer.
    • Extend the season with protection.

We'll notify you when this product is back in stock.


Burgundy F1

We don't share your information with others.

Your notification has been registered.  Click to close!

All About Burgundy F1

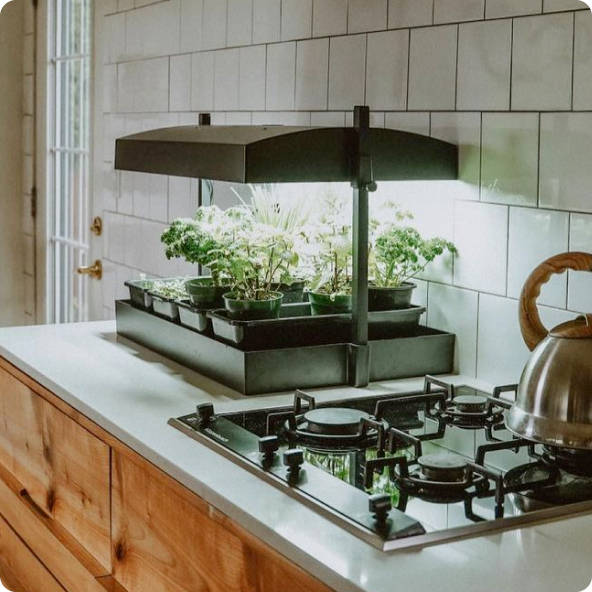
For Urban Gardeners

For Urban Gardeners:
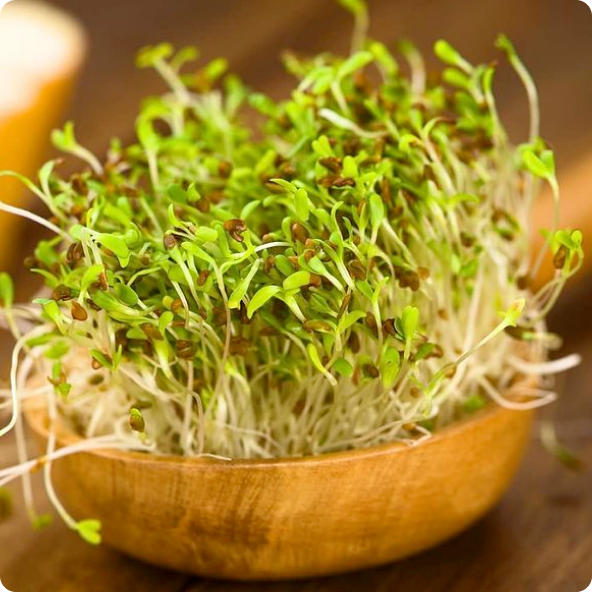
Sprouting is the easiest way to grow food at home. We have been selling the Biosta Sprouter (ZHG177B) for 30 years, and it has proven to be the best sprouter on the market. It can produce as many sprouts as the typical household can consume, and it is 100% safe and easy to use. We also have starter packs for sprouting that include a jar, lid, and 4 varieties of sprouting seeds. Check out our jar with BPA-free plastic lid with seeds and our jar with metal lid with seeds for easy sprout growing.

Timing

Timing
Sprouting seeds sprout quickly and are ready for harvest usually within a week from first rinsing them. Grow only as many as you can reasonably eat within a given freshness period. Try staggering your sowing to get a long, continuous harvest. Sprouts can be grown at any time of the year.

Starting

Starting
The quantity of seeds to use depends on the size of the seeds in question as well as the size of your sprouter. Usually one tablespoon is ample. You will give these seeds an initial rinse in clean water, to wash away any dust or debris. After that, we recommend that you rinse your sprouts 3 times daily. It may be helpful to place your sprouter some place very central, like on a kitchen island, so that you will see it in the morning, when you come home from school or work, and again in the evening. Every time you rinse, you allow the sprouts to drain so they are not sitting in a pool of water.

Soaking

Soaking
Many sprout enthusiasts like to give sprouting seeds an initial soak to start the process. The thinking is that soaking allows the seeds to imbibe water, which breaks the dormancy, “waking up” the seed and starting germination. We feel that if the seeds are given a thorough rinse in the beginning that soaking the seeds is not wholly necessary. Water will remain present on and between the seeds, and in the sprouter after the first rinse. However, much of the sprouting literature recommends 8 to 12 hours of soaking before the first rinse/drain cycle.

Growing

Growing
Rinsing 3 times per day will help keep the sprouts fresh and free from mould. Allowing the rinse water to drain away means that the seeds will be in contact with oxygen – an important consideration for all germinating seeds. You might try using the drained rinse water to water houseplants, as it will contain enzymes from the developing seeds. Larger seeds, like radish sprouts, will develop a root that may be covered in fine filamentous rootlets. Don’t confuse these fuzzy structures with mould.

Harvest

Harvest
Once the first pair of leaves (the cotyledon or seed leaves) have opened, the sprouts are ready. Many sprout growers like to expose sprouts at this stage to bright, indirect sunlight, which causes chlorophyll to develop. The leaves will turn a much darker green colour, which may enhance the nutrition of the sprouts.

When the sprouts reach this stage they are ready for eating. Wash them energetically under cold water to loosen and discard any seed husks. They can then be used fresh or kept in the refrigerator for three or four days. Our Care Bags will keep sprouts fresher for longer by allowing them to breathe in the refrigerator.

How to Grow Broccoli

Step 1

Timing

Start indoors right around the last frost date or later in spring for summer harvest in 2 to 3 months. Seeds will germinate in 7-10 days. Optimal temperature for germination: 10-30°C (50-85°F).

For fall harvest: Start indoors late spring and transplant in July, harvesting just before the first frost date.

For overwintering sprouting broccoli (in mild winter areas): Start indoors late March to mid-April, and harvest the following February to May.

Step 2

Starting

Sow indoors, 3 or 4 seeds per pot, 5mm (¼”) deep, under very bright light. Thin to the strongest plant. Space transplants 45-60cm (18-24″) apart in rows 75-90cm (30-36″) apart.

Step 3

Growing & Transplant

Ideal pH: 6.0-6.8

Broccoli is a moderate to heavy feeder that does best in humus-rich soil amended with composted manure. Set transplants out by the time they have 6-8 true leaves. Mix ¼-½ cup complete organic fertilizer into the soil under each transplant. When plants are 20-25cm (8-10″) tall, push soil around the stems up to the first big leaf to encourage side shoots. Broccoli does best in cool weather.

Step 4

Germination

Days to maturity: From transplant date.

In optimum conditions at least 80% of seeds will germinate. Usual seed life: 3 years. Per 100′ row: 170 seeds, per acre: 30M seeds.

Step 5

Harvest

Cut the crown portion of the broccoli with 5 to 6 inches of stem, after it’s fully developed, but before it begins to loosen and separate and the individual flowers start to develop into bright yellow blooms. Removing the central head stimulates regrowth to develop for later pickings. Cutting the head lower on the stem will encourage fewer, but larger side-shoots. The regrowth portion grows from the base of the lower leaves. You can usually continue to harvest broccoli for several weeks.

Tips

Diseases & Pests

Flea beetles – Use row covers to help protect plants from early damage. Put in place at planting and remove before temperatures get too hot in midsummer.

Cabbage root maggot – White maggots (larvae) attack all plants of the cabbage family. Larvae tunnel in and feed on roots of plants. Damage causes wilting early on, death of plants a little later on.

Cabbage aphids – A hard stream of water can be used to remove aphids from plants. Wash off with water occasionally as needed early in the day.

Cabbageworms – Handpick and destroy.

To help reduce disease, do not plant broccoli or other Brassicas in the same location more than once every three or four years.

Companion Planting

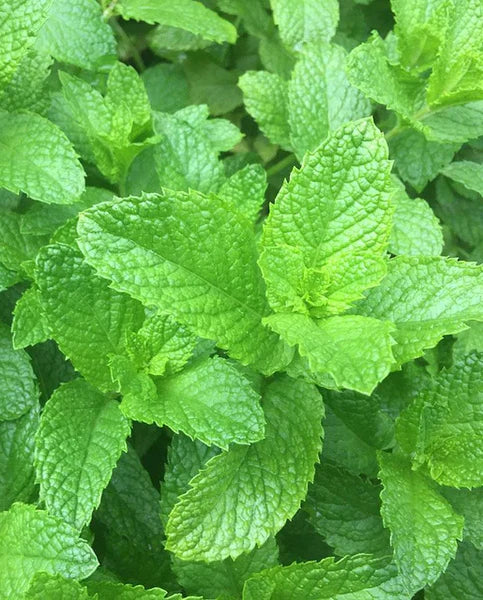
All Brassicas benefit from chamomile, dill, mint, rosemary, and sage. Avoid planting near eggplants, peppers, potatoes, or tomatoes.

Customer Reviews & Questions