Let me tell you a secret.
You don’t need perfect flowers to make beautiful arrangements.
My Mom is a florist and my Nonna a gardener, naturally I am both. In 2020 I moved from Toronto to the tiny paradise of Pender Island. Three years later, I’m the island's only flower delivery service, creating seasonal floristry in keepsake vases for local islanders.
I work with what is available in my own and my generous neighbors’ gardens, relying exclusively on whatever Mother Nature is offering to each of our little collaborations.
I’m sharing with you my 8 simple steps to a swoon-worthy garden centerpiece!
Prep Your Vase

If you’re a flower lover who wants to fill your home with blooms, you’ll need to start collecting some vases. The best place to get unique well priced vessels is at your local thrift shops. When choosing a vase for beginner floristry, I suggest heavy, wide mouth vases.
Once you have your vase you’re going to create simple flower mechanics to make arranging the blooms as easy as possible. Cut a piece of chicken wire big enough to bend and place into your vase. The pictured vase held my chicken wire without tape, but you can add a few pieces of waterproof floral tape by wrapping one side around a piece of the wire and taping it to the outside of the vase.

Harvest
Cut blooms keeping the stems as long as possible, greens, and whatever botany catches your eye with a clean pair of snips or scissors on an angle, strip away three quarters of the leaves with your hands (unless it's a rose, use strippers!) and place them in cool water right away.

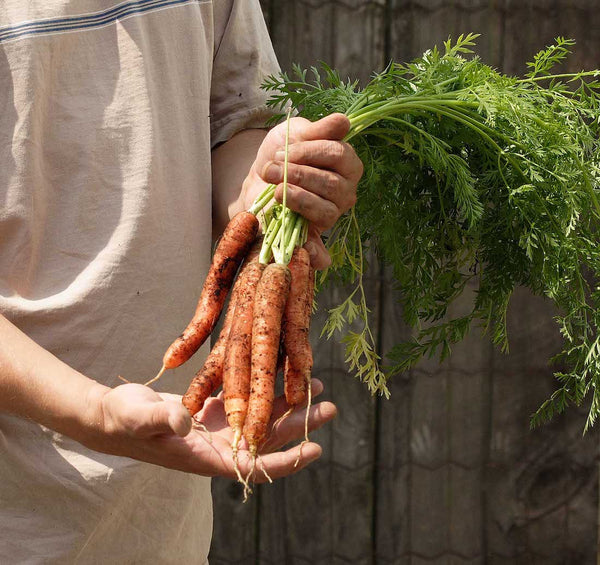
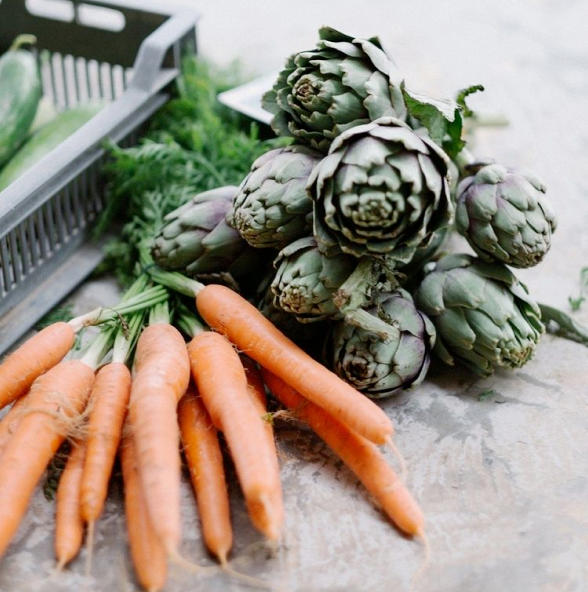
I use botany from my forest, herbs, vines, veggies gone to seed - anything I find interesting, in addition to blooms. When I spot something in my garden that may look lovely in an arrangement I snip a piece, put it in cool water and leave it there for a few days. I also use a plant app (pictureThis) to be sure I am aware of any potential danger to humans and pets. Sometimes the most unexpected botany can really elevate an arrangement. (This week I’m using the flowers from carrots gone to seed!)

Chose a Front
Choosing a “front” helps me to focus on one area at a time, and is a great way to get started without feeling overwhelmed. Spin the vase as you work, but give primary attention to the front, secondary attention to the back, and the sides will fill out beautifully as you work.
Add Tall/Thick Stems First
I like to start with the thickest stems for 2 reasons. One, they’re more challenging to squeeze in later, and two, they are going to help keep your smaller, more flimsy stems securely in place. For this arrangement I am using wild roadside lupins and an early stem of foxglove. Place them on a slight angle.

Pro Tip:
Pinch the chicken wire tightly around any stems you’d like to secure into place.
Add Short Stems
If you have some flowers with shorter stems, they are still valuable! I’ve placed my short stem peony, clematis, and dahlia in front of my long stem lupines.
Add Medium length Stems

Pro Tip:
Give the blooms space, try not to squish them together. Do this by placing the blooms at different depths. You can see here some of my flowers are in the foreground while others are deeper in the arrangement.
Add Greens
Adding greens as step 8 is going to be controversial among florists, but for a beginner flower forward centerpiece I find it helps to use greens to fill up the empty spaces. I’ve used a few cuts of lilac leaves, some wild twisted wild honeysuckle, and a sprig of lavender.
Add Delicate Stems
I love adding my poppies and agrostemma last because the flowers are not as durable and do really well as long stem blooms to elevate the empty spaces in your arrangement.

Pro Tip:
Before adding your poppies, be sure to burn the tip of the stem until black.This keeps the sap from escaping and encourages the poppy to drink water. If you skip this step your poppies will likely droop immediately.
Don’t forget to play and have fun, remember that flowers are not meant to be perfect.
These are some of my recent local delivery orders, all from my growing gardens. You can see the shape and bloom selection differ because my garden is ever changing. This makes each centerpiece a truly one of a kind gift from nature!
Shop some of my favorite easy-to-grow blooms:
Mother of Pearl PoppiesLupin
Peonies
Ranunculus
Apricotta Cosmo
Purity Cosmo
Snow Puff Cosmo
Polar Bear Zinnia
Zinderella Lilac Zinnia
Lemon Cupcake Zinnia
California Giants Mix Zinnia
Oklahoma Ivory Zinnia
Dahlia Cornel Bronze Ball
Dahlia Bolt
Dahlia Lady Kate
Dahlia Cafe Au Lait Royal
Aster
Foxglove
Check out some more seasonally inspired arrangements below!


